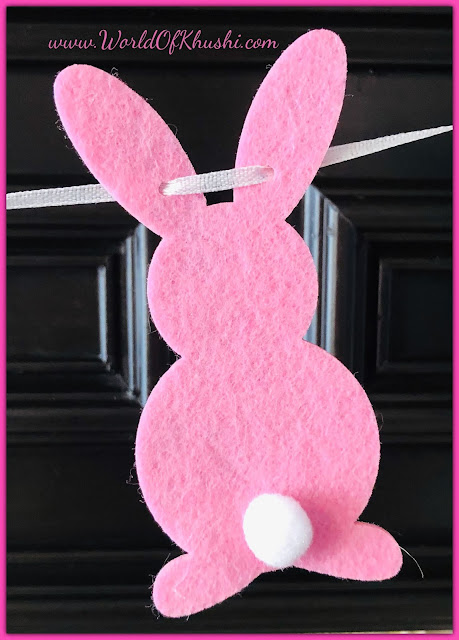
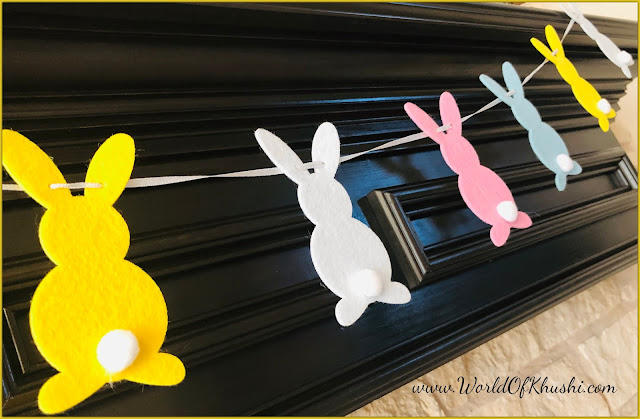
Easter is almost here and what better way to celebrate Easter than decorating our homes with cute bunnies DIYs. Easter Bunnies are adorable and our today's DIY is also based upon this theme. Bunny Garland DIY is easy to make and it looks wonderful. So without wasting much time, let's see how to make this DIY.
Bunny Garland | DIY
All You Need -
- Felt Sheets (Different Colors)
- White Pom-Pom
- White Ribbon or Thread
- Printed Bunny Template or Drawing
- Pencil
- Scissors
- Hole Puncher
- Hot Glue or White Glue
Making Process -
Step 1. Draw Bunny on a piece of paper or print-out a Bunny. You can find a lot of printables on the internet for Bunny.
Step 2. Cut all the edges of the Bunny and use this as a Stencil.
Step 3. By using this Bunny Stencil, draw Bunnies on a Felt Sheets using Pencil.
Step 4. Cut down all the extra edges. I am making 9 Bunnies in 4 different colors.
Step 5. Stick a Pom-pom on the bottom part of the Bunny by using Hot Glue. It will serve as a tail for the Bunny.
Step 6. Repeat the same on all the Bunnies.
Step 7. Punch one hole on each of the Ears of the Bunny. Repeat the same for the rest of the Bunnies.
Step 8. Start inserting Ribbon on the bottom left side then pass on from the upper right side.
Step 9. Keep doing this until you insert Ribbon on all the Bunnies.
Step 10. Tie one knot on both the ends of the Garland (so that you can hang this easily), cut the extra Ribbon.
Your cute Bunny Garland is ready!!
Try this DIY Garland in this Easter and let us know your feedback in the comment section. I hope you found this post useful! If yes then please share it with your friends and family.
For more such DIYs stay tuned to Khushi's World. Follow me on Khushi's World Facebook Page, Instagram, and Pinterest. I will see you in the next post till then take care!!


No comments:
Post a Comment
Note: Only a member of this blog may post a comment.